


RESTful APIs have become the go-to way of building web services that are scalable and easy to maintain. Fastify is a popular web framework in Node.js for building highly performant APIs. In this blog post, we will take a step-by-step approach to building a RESTful API using Fastify in Node.js.
What is a RESTful API?
REST stands for Representational State Transfer. It is an architectural style for building web services. A RESTful API is an interface that follows the principles of REST architecture. It is a way of designing web services to enable communication between different systems over HTTP. RESTful APIs use HTTP methods such as GET, POST, PUT, and DELETE to perform operations on resources.
Prerequisites
Before we begin building our API, we need to make sure we have the following prerequisites installed on our system:
Node.js
npm or yarn
A text editor
Getting Started
Let's create a new Node.js project. Open your terminal and run the following commands:
mkdir fastify-api
cd fastify-api
npm init -y
This will create a new directory called fastify-api and initialize a new Node.js project with default settings.
Now let's install Fastify and its dependencies. Run the following command in your terminal:
npm install fastify fastify-swagger
This will install Fastify and its fastify-swagger plugin, which we will use to generate API documentation.
Creating the API
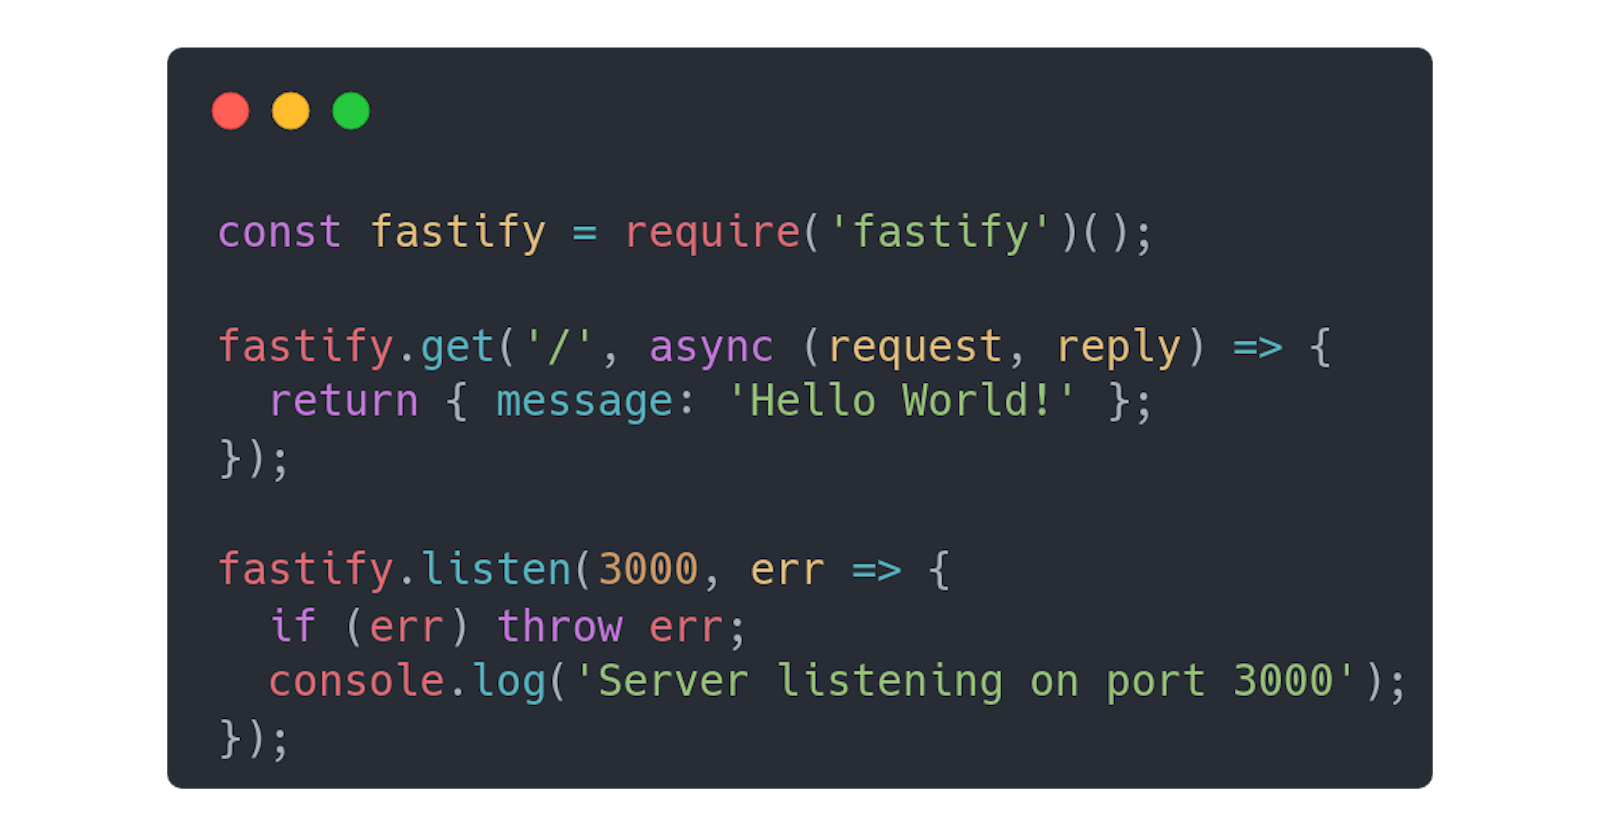
Now that we have everything set up, let's create our API. In your text editor, create a new file called index.js in the root directory of your project. Add the following code to it:
const fastify = require('fastify')({ logger: true });
const PORT = process.env.PORT || 3000;

fastify.get('/', async (request, reply) => {
  return { message: 'Hello World!' };
});

fastify.listen(PORT, (err, address) => {
  if (err) {
    fastify.log.error(err);
    process.exit(1);
  }
  fastify.log.info(`Server listening on ${address}`);
});
Here, we have imported Fastify and created a new instance of it. We have also defined a route for the root endpoint / that returns a simple message Hello World!. Finally, we have started the server listening on port 3000 or whatever the PORT environment variable is set to.
Testing the API
To test our API, run the following command in your terminal:
node index.js
This will start the server, and you should see the following output:
[2023-05-10T10:00:00.000Z] INFO (46229 on MBP.local): Server listening on http://127.0.0.1:3000
Now open your web browser and go to http://localhost:3000. You should see the message Hello World! displayed on the screen.
Adding More Routes
Let's add more routes to our API. Modify the index.js file to include the following code:
fastify.get('/users', async (request, reply) => {
  return { message: 'List of users' };
});

fastify.get('/users/:id', async (request, reply) => {
  const userId = request.params.id;
  return { message: `User ${userId}` };
});

fastify.post('/users', async (request, reply) => {
  const { name, email } = request.body;
  return { message: `User ${name} (${email}) created` };
});

fastify.put('/users/:id', async(request, reply) => {
  const userId = request.params.id;
  const { name, email } = request.body;
  return { message: User ${userId} updated to ${name} (${email}) };
});

fastify.delete('/users/:id', async (request, reply) => {
  const userId = request.params.id;
  return { message: User ${userId} deleted };
});
Here, we have added five more routes to our API:

- `/users`: returns a list of users
- `/users/:id`: returns details about a specific user identified by `id`
- `/users` (POST): creates a new user with the `name` and `email` parameters passed in the request body
- `/users/:id` (PUT): updates the details of a specific user identified by `id` with the `name` and `email` parameters passed in the request body
- `/users/:id` (DELETE): deletes the user identified by `id`

Testing the New Routes

Let's test the new routes using an HTTP client such as `curl` or `Postman`. For example, to create a new user, send a `POST` request to `http://localhost:3000/users` with the following JSON payload:
{
  "name": "John Doe",
  "email": "johndoe@example.com"
}
You should receive a response with the message User John Doe (johndoe@example.com) created.
Similarly, you can test the other routes using curl or Postman. For example, to get a list of users, send a GET request to http://localhost:3000/users. You should receive a response with the message List of users.
Adding Swagger Documentation
Now that we have our API up and running, let's add some documentation to it. Fastify comes with a fastify-swagger plugin that generates Swagger documentation for our API.
Modify the index.js file to include the following code:
fastify.register(require('fastify-swagger'), {
  routePrefix: '/docs',
  swagger: {
    info: {
      title: 'Fastify API',
      description: 'RESTful API built with Fastify and Node.js',
      version: '1.0.0'
    },
    tags: [
      { name: 'users', description: 'User endpoints' },
    ],
    schemes: ['http'],
    consumes: ['application/json'],
    produces: ['application/json'],
  },
  exposeRoute: true
});

fastify.ready(err => {
  if (err) throw err;
  fastify.swagger();
});
Here, we have registered the fastify-swagger plugin and configured it with some basic information about our API, such as the title, description, version, and tags. We have also specified the route prefix to /docs, which means that the documentation will be available at http://localhost:3000/docs.
Testing the Documentation
To test the Swagger documentation, go to http://localhost:3000/docs in your web browser. You should see the Swagger UI, which displays all the routes in our API along with their details.
Conclusion
In this blog post, we have seen how to build a RESTful API using Fastify in Node.js. We have created routes for different HTTP methods and tested them using an HTTP client. We have also added Swagger documentation to our API using the fastify-swagger plugin. Fastify is a lightweight and fast web framework that is perfect for building high-performance APIs.